Connect
Connect the breath headset to the controller. Use USB-C with a supported USB-MIDI host; when using MIDI OUT, supply USB power to the controller as well as connecting the MIDI cable.
USB-MIDI FOUNDATIONS
Learn how a USB MIDI breath controller turns breath pressure into expression, modulation and other compatible MIDI control data.
SIGNAL FLOW
A breath controller measures pressure at the mouthpiece and converts that movement into continuous MIDI control data. A compatible keyboard, sound module or software instrument then uses the data to shape dynamics, timbre or another assigned parameter.
Important: a breath controller is not a microphone and does not produce sound on its own.
Connect the breath headset to the controller. Use USB-C with a supported USB-MIDI host; when using MIDI OUT, supply USB power to the controller as well as connecting the MIDI cable.
Choose the MIDI destination that breath should control in the compatible instrument or Web Configurator.
Play with the stored response first, then refine only the onset, range and curve settings your playing requires.
CONNECTION CHOICE
Provides power and MIDI data over one cable on supported computers, mobile devices and USB-MIDI host systems. Confirm class-compliant USB-MIDI support on the host.
HARDWARE CONNECTION
Use the 3.5 mm TRS Type A MIDI OUT with a suitable adapter or cable to connect directly to a compatible keyboard or sound module MIDI IN without a computer.
The MIDI cable does not replace the controller’s USB power connection: provide a regulated 5 V USB power source as well. A keyboard USB socket alone does not establish USB-MIDI host support; check the exact model’s manual.
MRTAUDIO STANDARD SETUP
Connect the compatible MRTAUDIO breath headset to BC IN. Use one MIDI path for your first setup, then play a note on the receiving instrument and check how breath changes the assigned parameter.
Connect the supplied USB data/power cable to a compatible computer. Enable the MRTAUDIO BC MIDI input in your DAW and route it to your software instrument. Choose a MIDI channel and control message that the receiving sound accepts.
Connect Standard MIDI OUT to the instrument’s MIDI IN with the TRS Type A to 5-pin DIN cable. Supply regulated 5 V USB power to the controller as well. A USB socket on a keyboard does not by itself establish USB-MIDI host support.
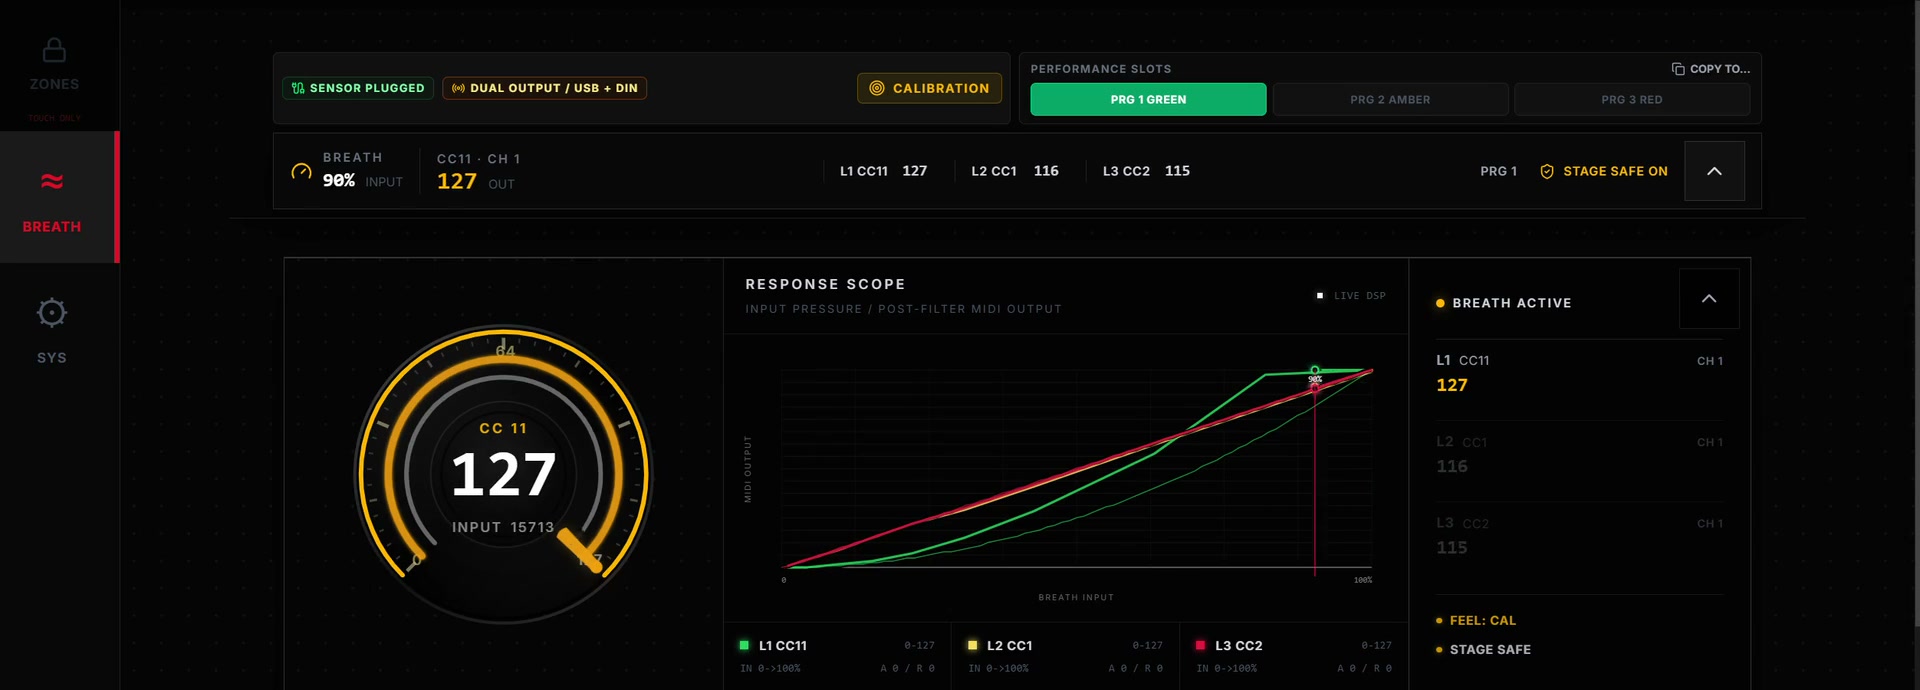
Route one breath input to up to three independent MIDI layers, each with its own destination, channel and response. Save the configuration to the controller with Web Configurator. The browser can stay closed while you play with stored P1/P2/P3 settings.